 I made this for my friend Michelle / Secretly Crafty for her birthday. I was inspired by some of the incredibly creative advent calendars that were posted on craft blogs this past holiday. I gave it to her 8 days before her birthday so that she would have a gift to open every day until the big day. I wanted to give her an advent calendar that she could use afterwards for something like storage, organizing craft supplies, etc. Instead of using the person's name, you could also do "Crafty Gal" or "Super Fly" or whatever else is appropriate.
 1. Cut the background piece: I used some IKEA fabric because that upholstery fabric is so nice and sturdy!
2. Stitch a hem around all sides:

3. Cut out the squares for the pockets. I like to estimate rather than use patterns, so I took the presents I planned to put into each pocket and cut the pocket allowing a couple extra inches for the seam and for the thickness of the object going into the pocket.
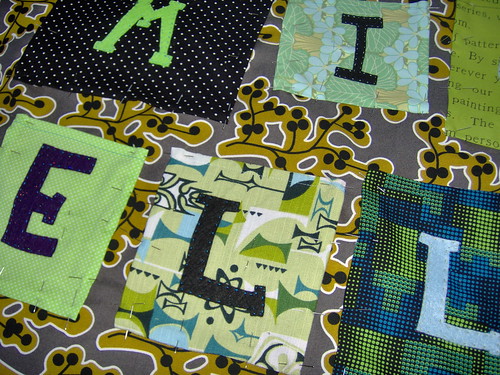
4. For the letters of her name, I sketched them freehand on felt using a fine sharpie marker and cut them out.
Obviously I like using a wild variety of patterns. I think this would look good with more complementary fabrics, or alternating polka dots with solids, etc.
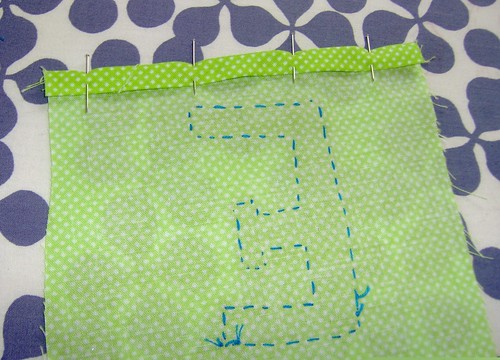
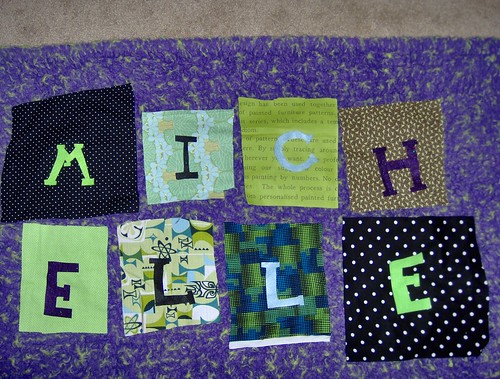 5. Lay it all out, positioning your letters in the center of your squares, and pin the letters to the fabric.
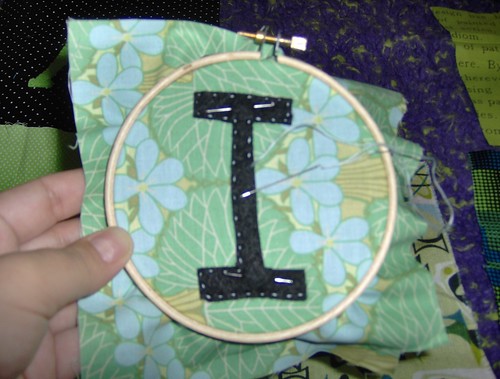
6. You might be able to stitch the letters freehand; I found it easier to do with an embroidery hoop. I used bright colors of thread to contrast the color of the letter to show the stitching. I used regular embroidery thread (I think 2 strands).

7. Next, iron and pin the top hem of all the pocket squares (fold over and iron, then fold and iron again):
 8. Sew the top hems of all the pockets:
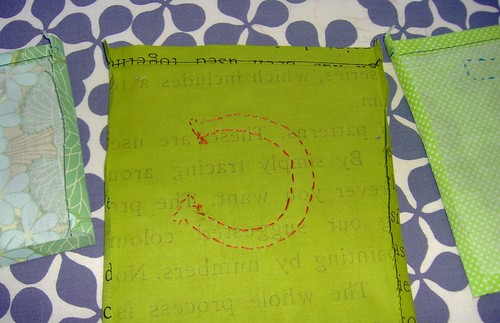 9. Fold and iron the sides and bottom sides of all the pockets:
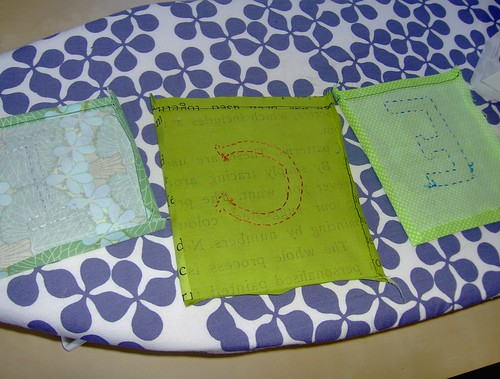 10. Lay all the squares out on your background piece, positioning them the way you want them and carefully tucking the ironed down sides and bottom in and under.
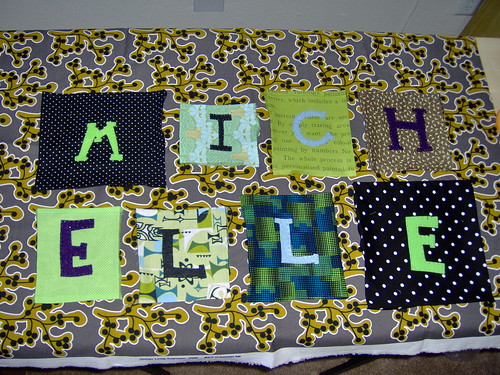 (you can see here that I actually didn't hem the outside of the background piece until all the pockets were done. You can do it either way, but the good thing about doing it at the beginning is that you will be able to accurately position the pockets on the background).
11. Pin all the pockets to the background:
 12. I found it helpful to stabilize each piece by putting a pin in the middle of the square before pinning the outside edges:
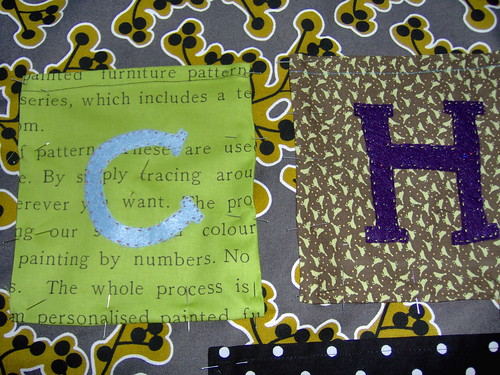 Voila!
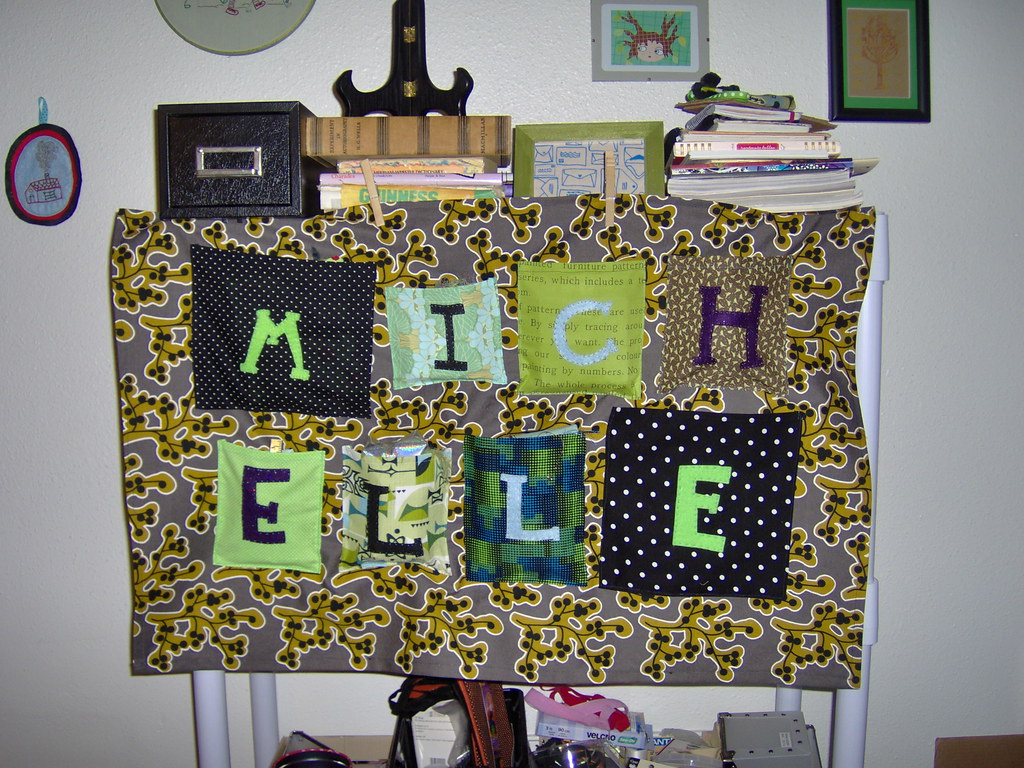
 As you can tell, I didn't attach anything to hang it with. In these photos, I've used clothespins to attach it to my bookshelf. At Michelle's, we put some heavy books on the top edge to hold it up. I'd suggest sewing a loop of ribbon or bias tape on each top corner and in the middle to hang it on a wall on nails or hooks.
2 comments:
What a wonderful idea! Such a lovely gift :)
It was such an amazing birthday gift! I'd had a bit of a rough week and being able to wake up everyone morning and retrieve a little prezzy totally lifted my spirits!
Ms. Niku was so effin' kind to me during my birthday; I'm not sure I'll ever figure out how to return the favor.
<3.
Post a Comment