I've been working on embroidering even more scissors (hair stylist, more vintage embroidery, diagram, etc.) and have hung up two more in the show still up at Starbucks. I will post the newest additions soon.
In the meantime, two scissor-related crafts that tickled me pink today.
Lauren Levy's show currently at D. Berman Gallery here in Austin, wonderful use of buttons! I just found out about this today and since it ends in a couple days, plan to check it out tomorrow.
And I love this demo display Rachel / Average Jane Crafter made for her embroidery classes and demos she's doing at Maker Faire San Francisco this weekend:
sweet!
Thursday, May 28, 2009
Thursday, May 14, 2009
science & craft
from Milly and Tilly
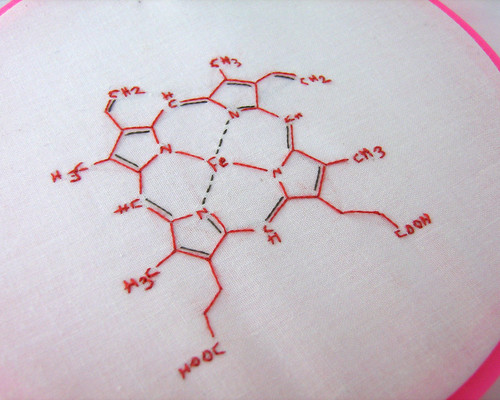
Embroidered for a menstrual cup pouch (like The Keeper or Diva cup - I'm a huge fan! "The chemical structure of a heme group. Heme B is the oxygen binding molecule found in hemoglobin, a major component of blood."
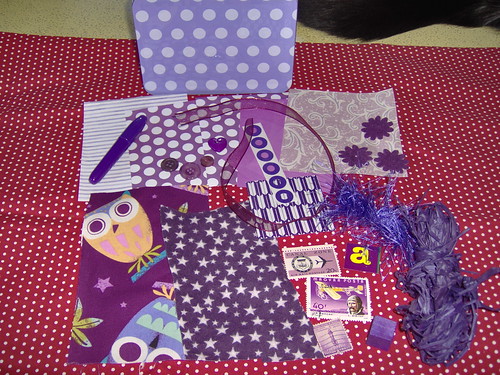
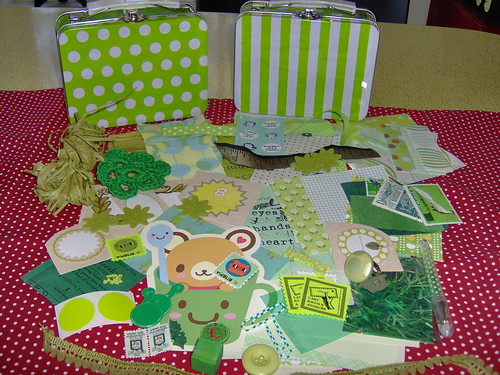
crafty ephemera kits : in shop
Here's a really fun activity : going through all of your collections (some call them hoardes) and picking out items by color theme rather than type of supply. Also, when I found these adorable little lunch boxes, I knew I had to do something with them! (in etsy shop)
Tuesday, May 12, 2009
Urban Threads : when crafting is used for evil?
Various craft blogs and etsy among others have been posting the news about Urban Threads - a company who poses as an indie, crafty individual - ripping off designers and artists including Sublime Stitching. Feel Stitchy has a nice thorough piece with side by side comparisons that pretty much erase any doubt.
So I was especially disturbed when recently my embroidered embroidery scissor piece was favorited on flickr by Urban Threads. I'm sure they feel free to do whatever they want with any artwork that is out there but I did what I could think of which was to block UT on flickr.
It really makes me crazy and upset that this person/these people are out there continuing to do this crap, using the online communities we use for positive things like support of each other to troll for ideas. I'm not flattered, just disgusted.
Monday, May 11, 2009
Sunday, May 10, 2009
fabric pattern love
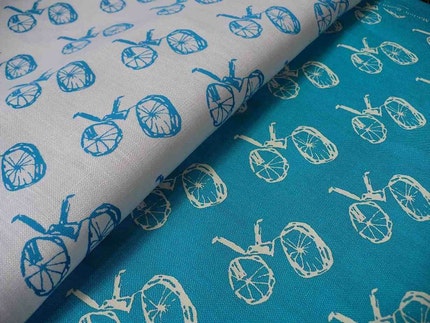
Craft Pudding, whose wonderful carved stamps are some of my favorites. She sells them on etsy. This fabric was printed by the custom fabric printer Spoonflower.
A friend gave me a quarter of this hand-printed house fabric from Summersville for Christmas and it's so adorable I'm going to display it in an embroidery hoop hanging on the wall. I'm embroidering outlines of a few of the houses and trees.
More great hand printed fabrics on etsy:
Emily Me
Umbrella Prints
Green Olive Textiles
Peanut Butter and Yelly
Saturday, May 9, 2009
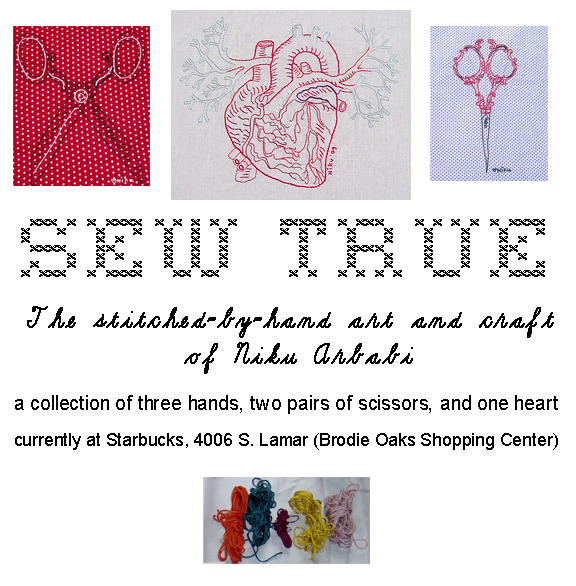
announcing Sew True! a lovely stichy art show for you!
This is what I've been working on for the past few week and it is finally done!
you can see more images of the pieces here but I promise they are a lot better in person and worth the visit to see them if you can!
Labels:
art show,
embroidery,
hands,
heart,
scissors
Wednesday, May 6, 2009
Birthday Advent Calendar Tutorial!
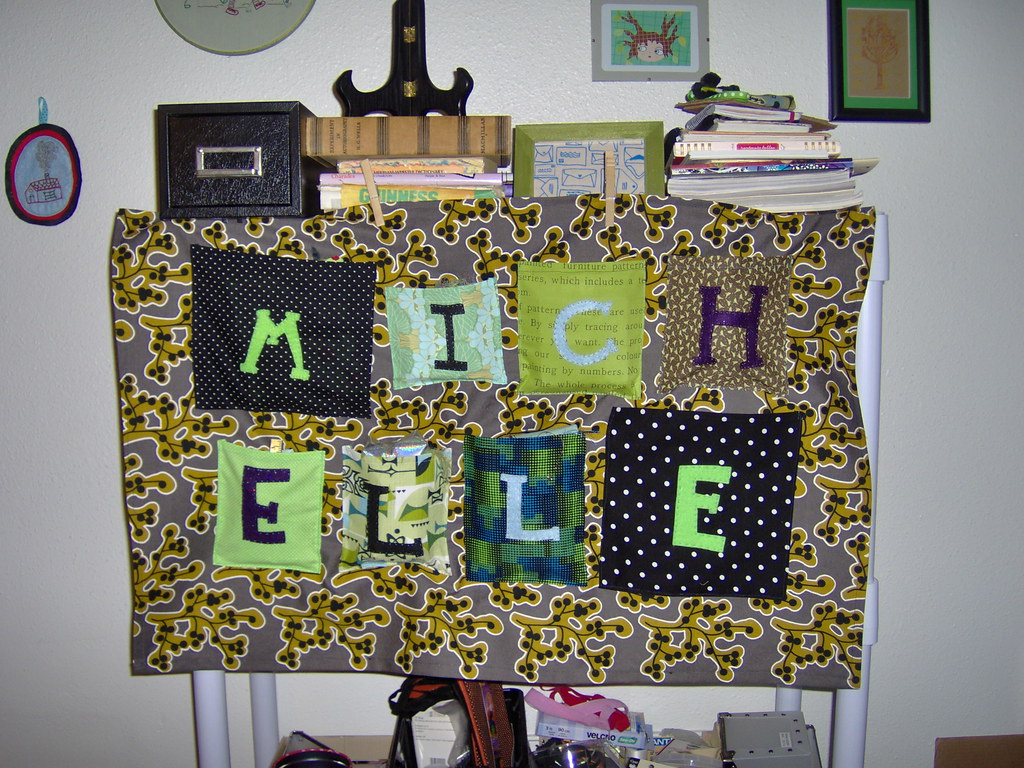
I made this for my friend Michelle / Secretly Crafty for her birthday. I was inspired by some of the incredibly creative advent calendars that were posted on craft blogs this past holiday. I gave it to her 8 days before her birthday so that she would have a gift to open every day until the big day. I wanted to give her an advent calendar that she could use afterwards for something like storage, organizing craft supplies, etc. Instead of using the person's name, you could also do "Crafty Gal" or "Super Fly" or whatever else is appropriate.
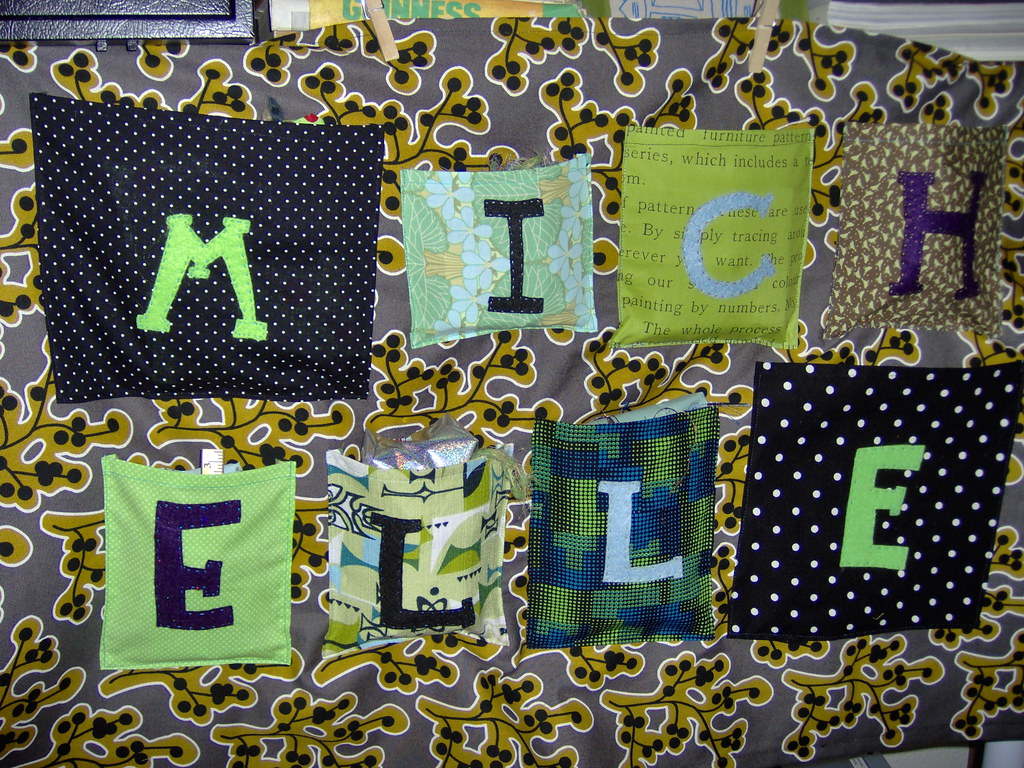
1. Cut the background piece: I used some IKEA fabric because that upholstery fabric is so nice and sturdy!
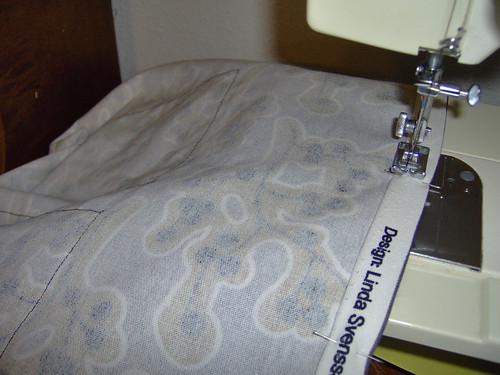
2. Stitch a hem around all sides:
3. Cut out the squares for the pockets. I like to estimate rather than use patterns, so I took the presents I planned to put into each pocket and cut the pocket allowing a couple extra inches for the seam and for the thickness of the object going into the pocket.
4. For the letters of her name, I sketched them freehand on felt using a fine sharpie marker and cut them out.
Obviously I like using a wild variety of patterns. I think this would look good with more complementary fabrics, or alternating polka dots with solids, etc.
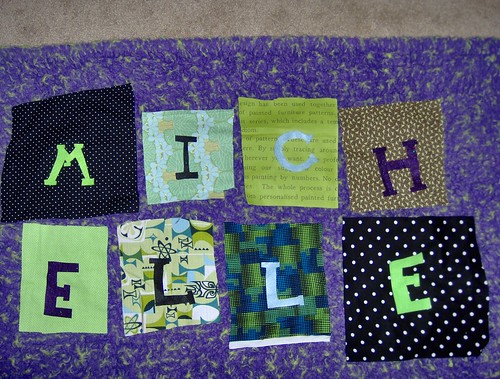
5. Lay it all out, positioning your letters in the center of your squares, and pin the letters to the fabric.
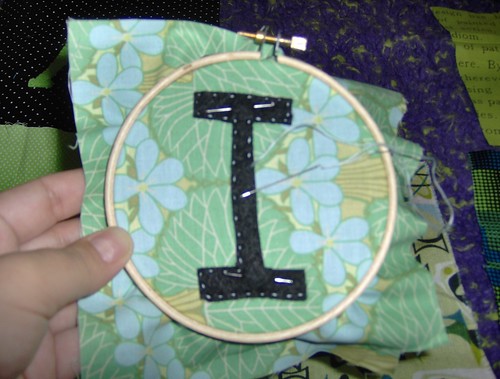
6. You might be able to stitch the letters freehand; I found it easier to do with an embroidery hoop. I used bright colors of thread to contrast the color of the letter to show the stitching. I used regular embroidery thread (I think 2 strands).
7. Next, iron and pin the top hem of all the pocket squares (fold over and iron, then fold and iron again):
8. Sew the top hems of all the pockets:
9. Fold and iron the sides and bottom sides of all the pockets:
10. Lay all the squares out on your background piece, positioning them the way you want them and carefully tucking the ironed down sides and bottom in and under.
(you can see here that I actually didn't hem the outside of the background piece until all the pockets were done. You can do it either way, but the good thing about doing it at the beginning is that you will be able to accurately position the pockets on the background).
11. Pin all the pockets to the background:
12. I found it helpful to stabilize each piece by putting a pin in the middle of the square before pinning the outside edges:
Voila!
As you can tell, I didn't attach anything to hang it with. In these photos, I've used clothespins to attach it to my bookshelf. At Michelle's, we put some heavy books on the top edge to hold it up. I'd suggest sewing a loop of ribbon or bias tape on each top corner and in the middle to hang it on a wall on nails or hooks.
1. Cut the background piece: I used some IKEA fabric because that upholstery fabric is so nice and sturdy!
2. Stitch a hem around all sides:
3. Cut out the squares for the pockets. I like to estimate rather than use patterns, so I took the presents I planned to put into each pocket and cut the pocket allowing a couple extra inches for the seam and for the thickness of the object going into the pocket.
4. For the letters of her name, I sketched them freehand on felt using a fine sharpie marker and cut them out.
Obviously I like using a wild variety of patterns. I think this would look good with more complementary fabrics, or alternating polka dots with solids, etc.
5. Lay it all out, positioning your letters in the center of your squares, and pin the letters to the fabric.
6. You might be able to stitch the letters freehand; I found it easier to do with an embroidery hoop. I used bright colors of thread to contrast the color of the letter to show the stitching. I used regular embroidery thread (I think 2 strands).
7. Next, iron and pin the top hem of all the pocket squares (fold over and iron, then fold and iron again):
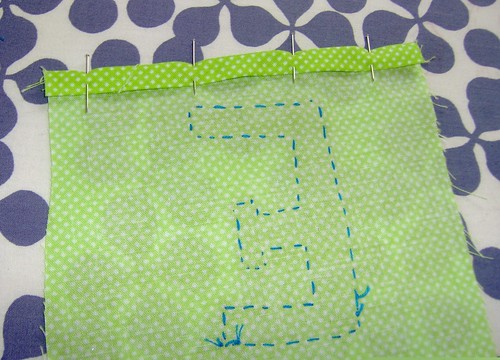
8. Sew the top hems of all the pockets:
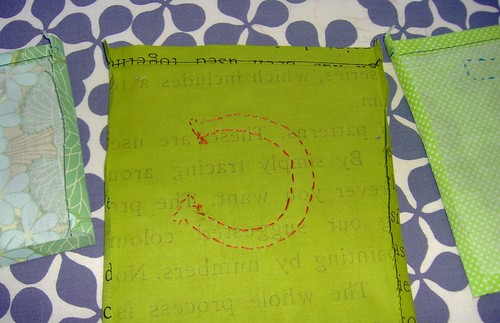
9. Fold and iron the sides and bottom sides of all the pockets:
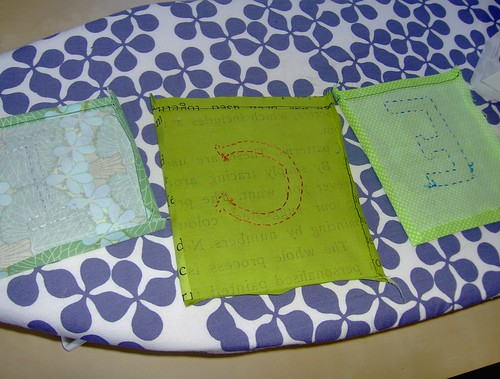
10. Lay all the squares out on your background piece, positioning them the way you want them and carefully tucking the ironed down sides and bottom in and under.
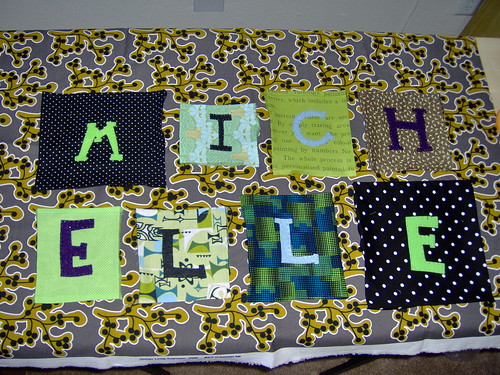
(you can see here that I actually didn't hem the outside of the background piece until all the pockets were done. You can do it either way, but the good thing about doing it at the beginning is that you will be able to accurately position the pockets on the background).
11. Pin all the pockets to the background:
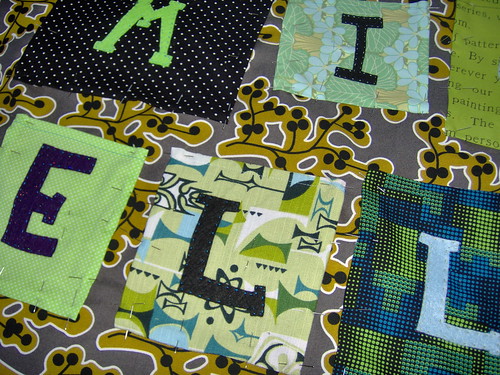
12. I found it helpful to stabilize each piece by putting a pin in the middle of the square before pinning the outside edges:
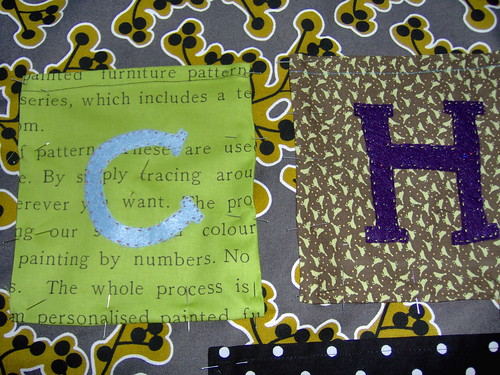
Voila!
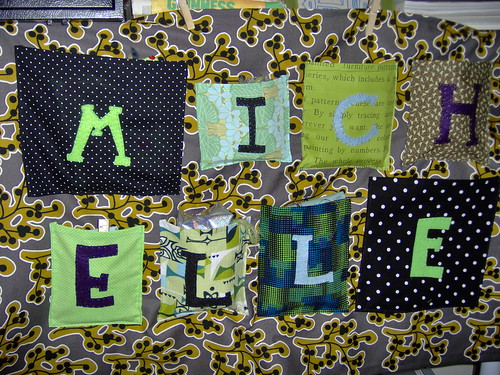
As you can tell, I didn't attach anything to hang it with. In these photos, I've used clothespins to attach it to my bookshelf. At Michelle's, we put some heavy books on the top edge to hold it up. I'd suggest sewing a loop of ribbon or bias tape on each top corner and in the middle to hang it on a wall on nails or hooks.
Labels:
advent birthday calendar,
embroidery,
sewing
Friday, May 1, 2009
the best kind of eye candy!
in my taste, these could not be more delicious! I love ephemera organized in boxes.
From the wonderful Design*Sponge blog, photos from Elizabeth Demos' shop @Home in Savannah, Georgia on her guest blog home with found style.
Labels:
design sponge,
elizabeth demos,
epehmera,
found style,
home,
vintage
Subscribe to:
Posts (Atom)